
Central Air Conditioning Installation: The Complete Homeowner’s Guide
Central Air Conditioning Installation: The Complete Homeowner’s Guide
If your home has been relying on window units, a failing old system, or nothing at all to get through Kansas summers — central air conditioning installation is probably something you’ve been thinking about. The decision is a big one, and it comes with a lot of questions: How does the process work? What size do I need? How long does it take? What’s it going to cost?
This guide breaks it all down so you go into the process informed, not surprised.
Why Central AC Is Worth the Investment
Kansas summers are no joke. Temperatures regularly climb into the 90s and 100s across Central Kansas, and without a reliable cooling system, indoor air quality and comfort both suffer fast.
Central air conditioning delivers whole-home cooling through your existing ductwork — or new ductwork if your home doesn’t have it. Compared to window units or portable systems, central AC is quieter, more energy-efficient, and keeps every room at a consistent temperature. It also tends to add real value to a home if you’re ever looking to sell.
For El Dorado homeowners, the math usually makes sense. You’re cooling the whole house for less energy cost per square foot than running multiple window units, and you’re not sacrificing rooms that don’t have a window unit installed.
Step 1: Getting Your Home Assessed
Before any equipment gets ordered or installed, a qualified HVAC technician needs to assess your home. This is where proper sizing happens.
Central AC systems are measured in tons — not weight, but cooling capacity. A unit that’s too small will run constantly and still struggle to keep up. A unit that’s too large will short-cycle, meaning it kicks on and off too frequently, which wastes energy and causes humidity problems.
Sizing is determined by a Manual J load calculation, which accounts for:
- Square footage of the home
- Insulation levels and window efficiency
- Local climate data
- Number of floors and ceiling height
- Sun exposure
Don’t let anyone quote you a system based on square footage alone. That’s a shortcut that leads to the wrong equipment.
Step 2: Choosing the Right Equipment
Once sizing is dialed in, you’ll choose the actual equipment. The main components of a central AC system are:
- Evaporator coil — sits inside near your air handler or furnace, absorbs heat from indoor air
- Condenser unit — sits outside, releases that heat to the outdoors
- Air handler or furnace — circulates conditioned air through your ductwork
- Refrigerant lines — connect the indoor and outdoor components
- Thermostat — controls the whole system
Brand matters, but so does proper installation. A high-efficiency Rheem or Mitsubishi unit installed correctly will outperform a premium unit installed sloppily every time. Look for SEER2 ratings of 15 or higher for solid efficiency in a Kansas climate.
If your home doesn’t already have ductwork, this is also when that gets planned and priced out. Ductless mini-split systems are an alternative worth considering if duct installation isn’t feasible — our heat pump services page covers that option in more detail.
Step 3: The Installation Day
For most homes with existing ductwork, central AC installation takes one day — sometimes two for larger or more complex jobs. Here’s what a typical installation looks like:
- The old system (if any) is shut down and removed
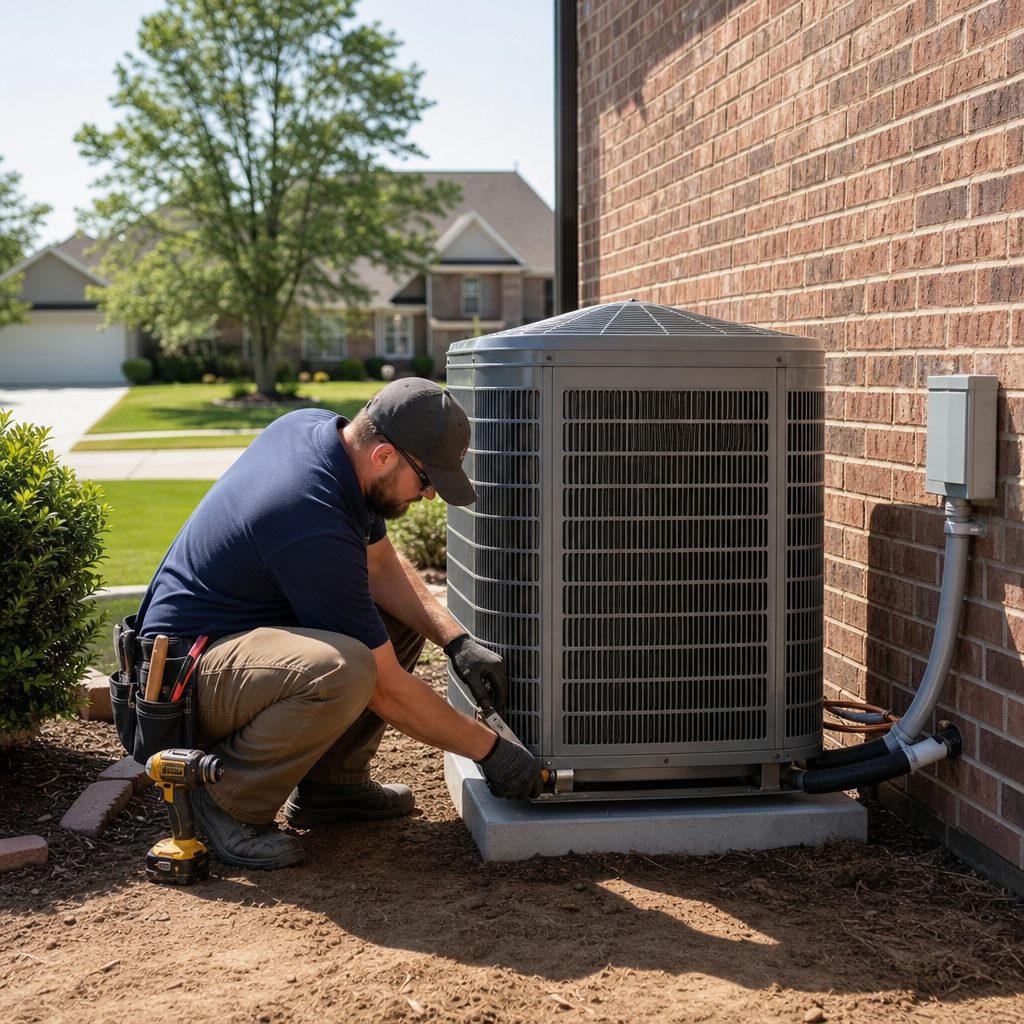
- The new condenser unit is set on a concrete pad outside
- The evaporator coil is installed inside, connected to the air handler
- Refrigerant lines are run and connected
- Electrical connections are made and inspected
- The system is charged with refrigerant and tested
- Airflow and thermostat calibration are confirmed
A good technician will walk you through the system at the end — how to operate it, what filter to use and how often to change it, and what the warranty covers.
What to Expect From a Warranty
Systems installed by a licensed HVAC contractor typically come with both a manufacturer equipment warranty and a labor warranty. At Don’s Heating & Air, every installation comes backed by a 10-year system warranty — one of the stronger warranties you’ll find from a local contractor. That kind of coverage matters when you’re putting thousands of dollars into a system you plan to rely on for 15–20 years.
Choosing a Contractor in El Dorado, KS
This is where it gets important. Central air conditioning installation isn’t a job for the lowest bidder. The quality of the installation determines how long the system lasts, how efficiently it runs, and whether the warranty stays valid.
When vetting contractors, ask:
- Are you licensed and insured? (Don’s carries $1M liability coverage)
- Will you perform a proper Manual J load calculation?
- What brands do you install and why?
- What does the warranty cover — equipment and labor?
- Can I get a free on-site quote before committing?
Don’s Heating & Air has been serving El Dorado and Central Kansas since 1959. That’s 65+ years of installations, repairs, and earned trust in this community. Learn more about our air conditioning installation services or check our El Dorado service area page to confirm we cover your location.
Ready to Get a Quote?
If you’re ready to move forward — or just want to know what a new system would actually cost for your home — we make it easy. Free on-site quotes, same-day availability, and no pressure. Call or text us to schedule, or request a quote online.